Duffel Cards provides a PCI-compliant way for your customers to pay airlines and accommodation providers directly for their bookings.
This guide will walk you through how to use Duffel Cards to capture your customers' cards, have the customers complete a 3DS challenge when required, and book flights or accommodation directly with these cards. Duffel Cards adds new steps to the normal search, select and create instant orders workflow:
The payment flow starts on your checkout page and includes the following steps:
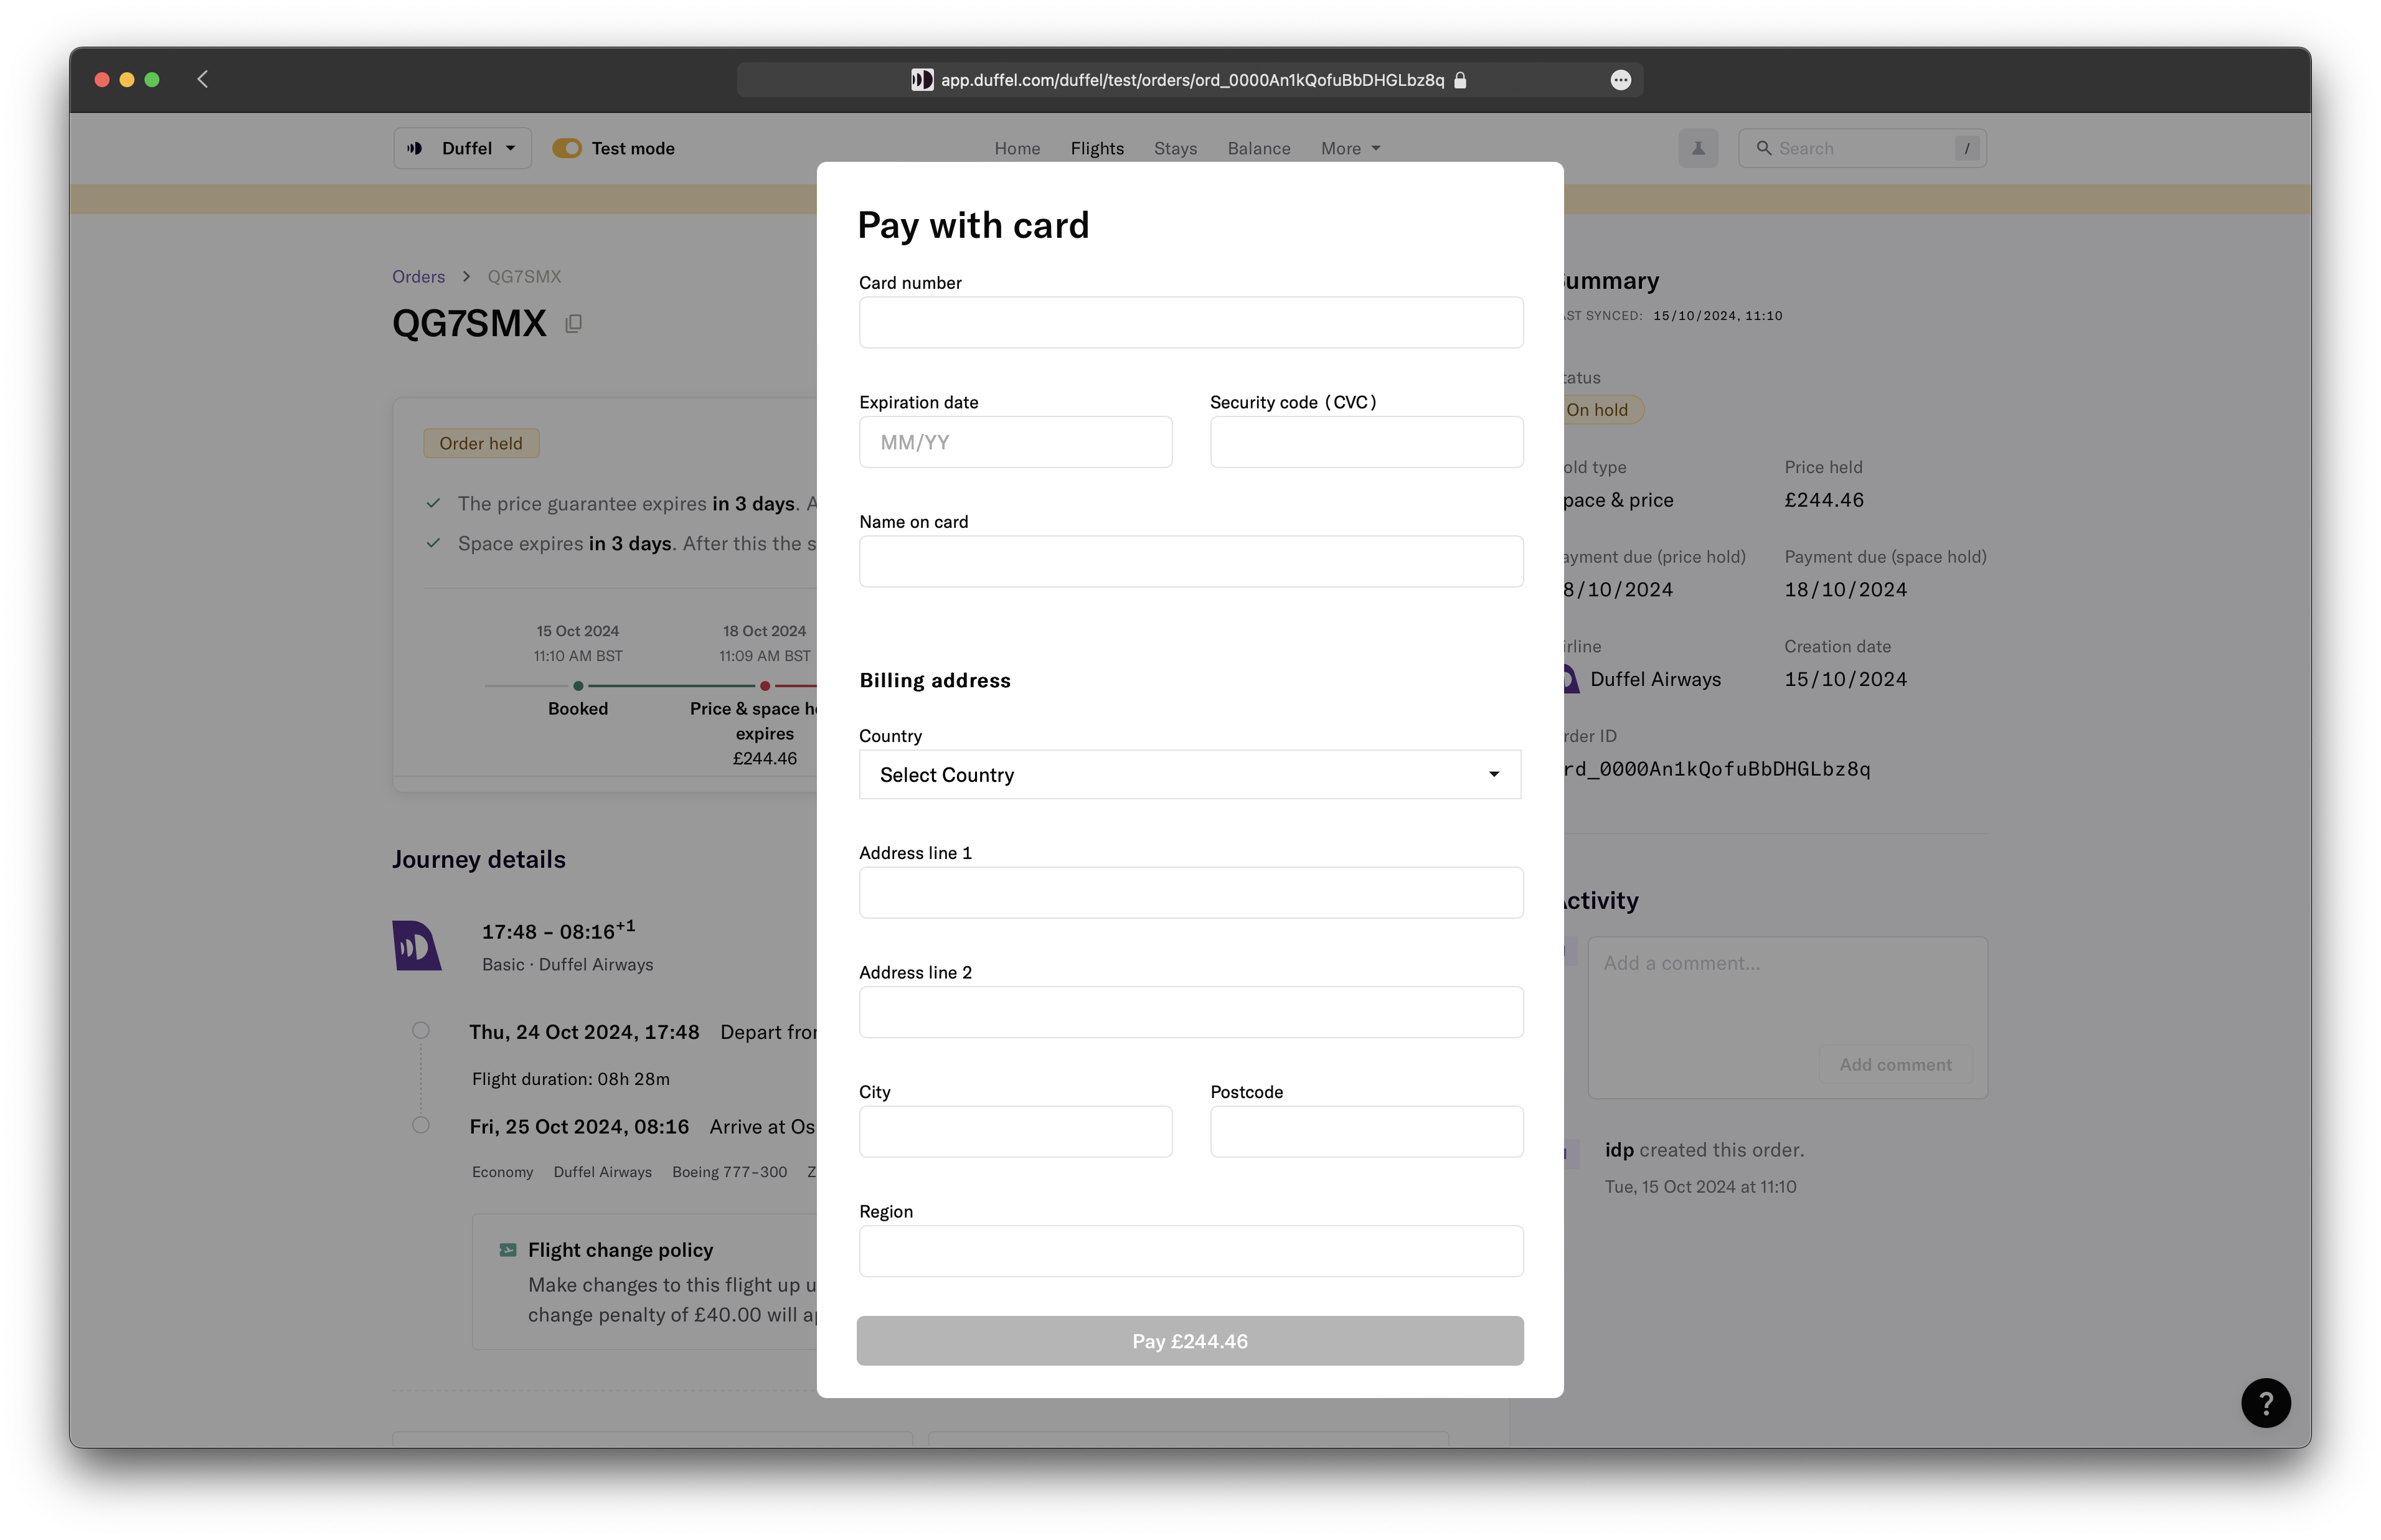
Capture your customers' card - Use Duffel's card component, DuffelCardForm, to capture all the required card details and store them securely on Duffel's servers.
Authenticating the payment - Start a Duffel 3DSecure Session using our createThreeDSecureSession function to authenticate the customer intent to purchase the travel service. As part of this step we contact the customer's card issuer to see if the cardholder is required to authenticate the transaction. This may trigger a challenge screen where your customer needs to enter a confirmation code to proceed with the booking.
Book a flight or accommodation - Taking the 3DSecure Session response and using that as part of booking a flight or accommodation with the customers card.
Requirements
This guide assumes that you already have a working integration with the Duffel API. Only the basics of searching and booking are required for this guide. If you could use a refresher, please head over to our Quick Start Guide.
Is this guide right for you?
This section helps you understand which implementation guide to follow based on the types of cards your customers plan to pay with.
Individual cards are physical or virtual cards that are issued to an individual person. These can be either cards issued for personal use, or corporate cards issued in the name of an employee.
Corporate cards are physical or virtual cards that are issued to a business, and are issued with a company name as the cardholder name.
To determine if this integration guide is right for your integration please answer the following questions for each type of card you plan to accept:
Question 1: Is your customer paying with a physical card issued to an individual?
If the answer is Yes → This guide is written for you, please continue reading from the Approval requirement step below.
If the answer is No → Please continue to the next question.
Question 2: Is the card being used within a secure corporate environment?
A secure corporate environment is where company employees require secure logins to make bookings. Examples of a secure corporate environment:
You offer a corporate travel Online Booking Tool (OBT) that is only accessible by authorised employees through a secure login.
You are a Travel Management Company (TMC) that stores corporate card
details of your customers’ employees using secure profiles that are only accessible by
your authorised employees through a secure login.
If the answer is No → Please get in touch with the Duffel support team at [email protected] to see if we fully support your payment needs.
Approval
Approval is required to pay using cards. Please get in touch with the Duffel support team at [email protected] to request approval before beginning your integration.
Capture customer card
A Card is a resource that will be used to represent a card that does not expose PCI sensitive data and can be used to pay travel suppliers directly.
Once your customer has searched for and selected an offer to book, the first step to use Duffel Cards is to use the DuffelCardForm component on your checkout pages from the Duffel JavaScript library @duffel/components.
For React Native checkout flows, use the @duffel/react-native-components-card-form package and the Using 3DS hook in React Native guide.
Install
Start by installing the library in your JavaScript project.
npm i @duffel/components
# -- or --
yarn add @duffel/components
You can find up to date documentation on how to use it on github:
To use the card component a client component key needs to be created on the server side and be made available to your checkout pages.
The client component key is a token that is safe to be used client side.
Render card form component
Next render the DuffelCardForm component in the payment section of your checkout page. This is usually the final step once the final price is known. Using the client component key, this will render a PCI-complaint form to capture the card and return a Card ID that will get used in the next step.
Actions are made available through an imperative interface. The component ref exposes two actions that will issue a request to Duffel to handle the user’s card data. You may choose to manage the ref yourself but we recommend using the useDuffelCardFormActions hook.
Once the form is submitted there are two different action handlers:
Validate
This action gives you visibility into whether the form data is valid. This will happen automatically and does not require you to trigger a ref action. You should use the success handler to enable the following steps on your UI.
To handle this action use:
onValidateSuccess: The card data input is valid.
onValidateFailure: The card data input is not valid. Note this will only be called when the form modified in a way that fails validation after validation had previously passed.
createCardForTemporaryUse
When successful, this action will return a card ID that can be used for creating orders and bookings.
To handle this action use:
onCreateCardForTemporaryUseSuccess: Returns the Card record.
onCreateCardForTemporaryUseFailure: Return information about the error.
Example of the card component
Learn more
Initiate 3DS Session
Card payments must be authenticated before authorisation of a payment can be given.
In this step, we will perform a 3DS authentication for a card payment with the cardholder's issuing bank and use the result to place an order using the Duffel API.
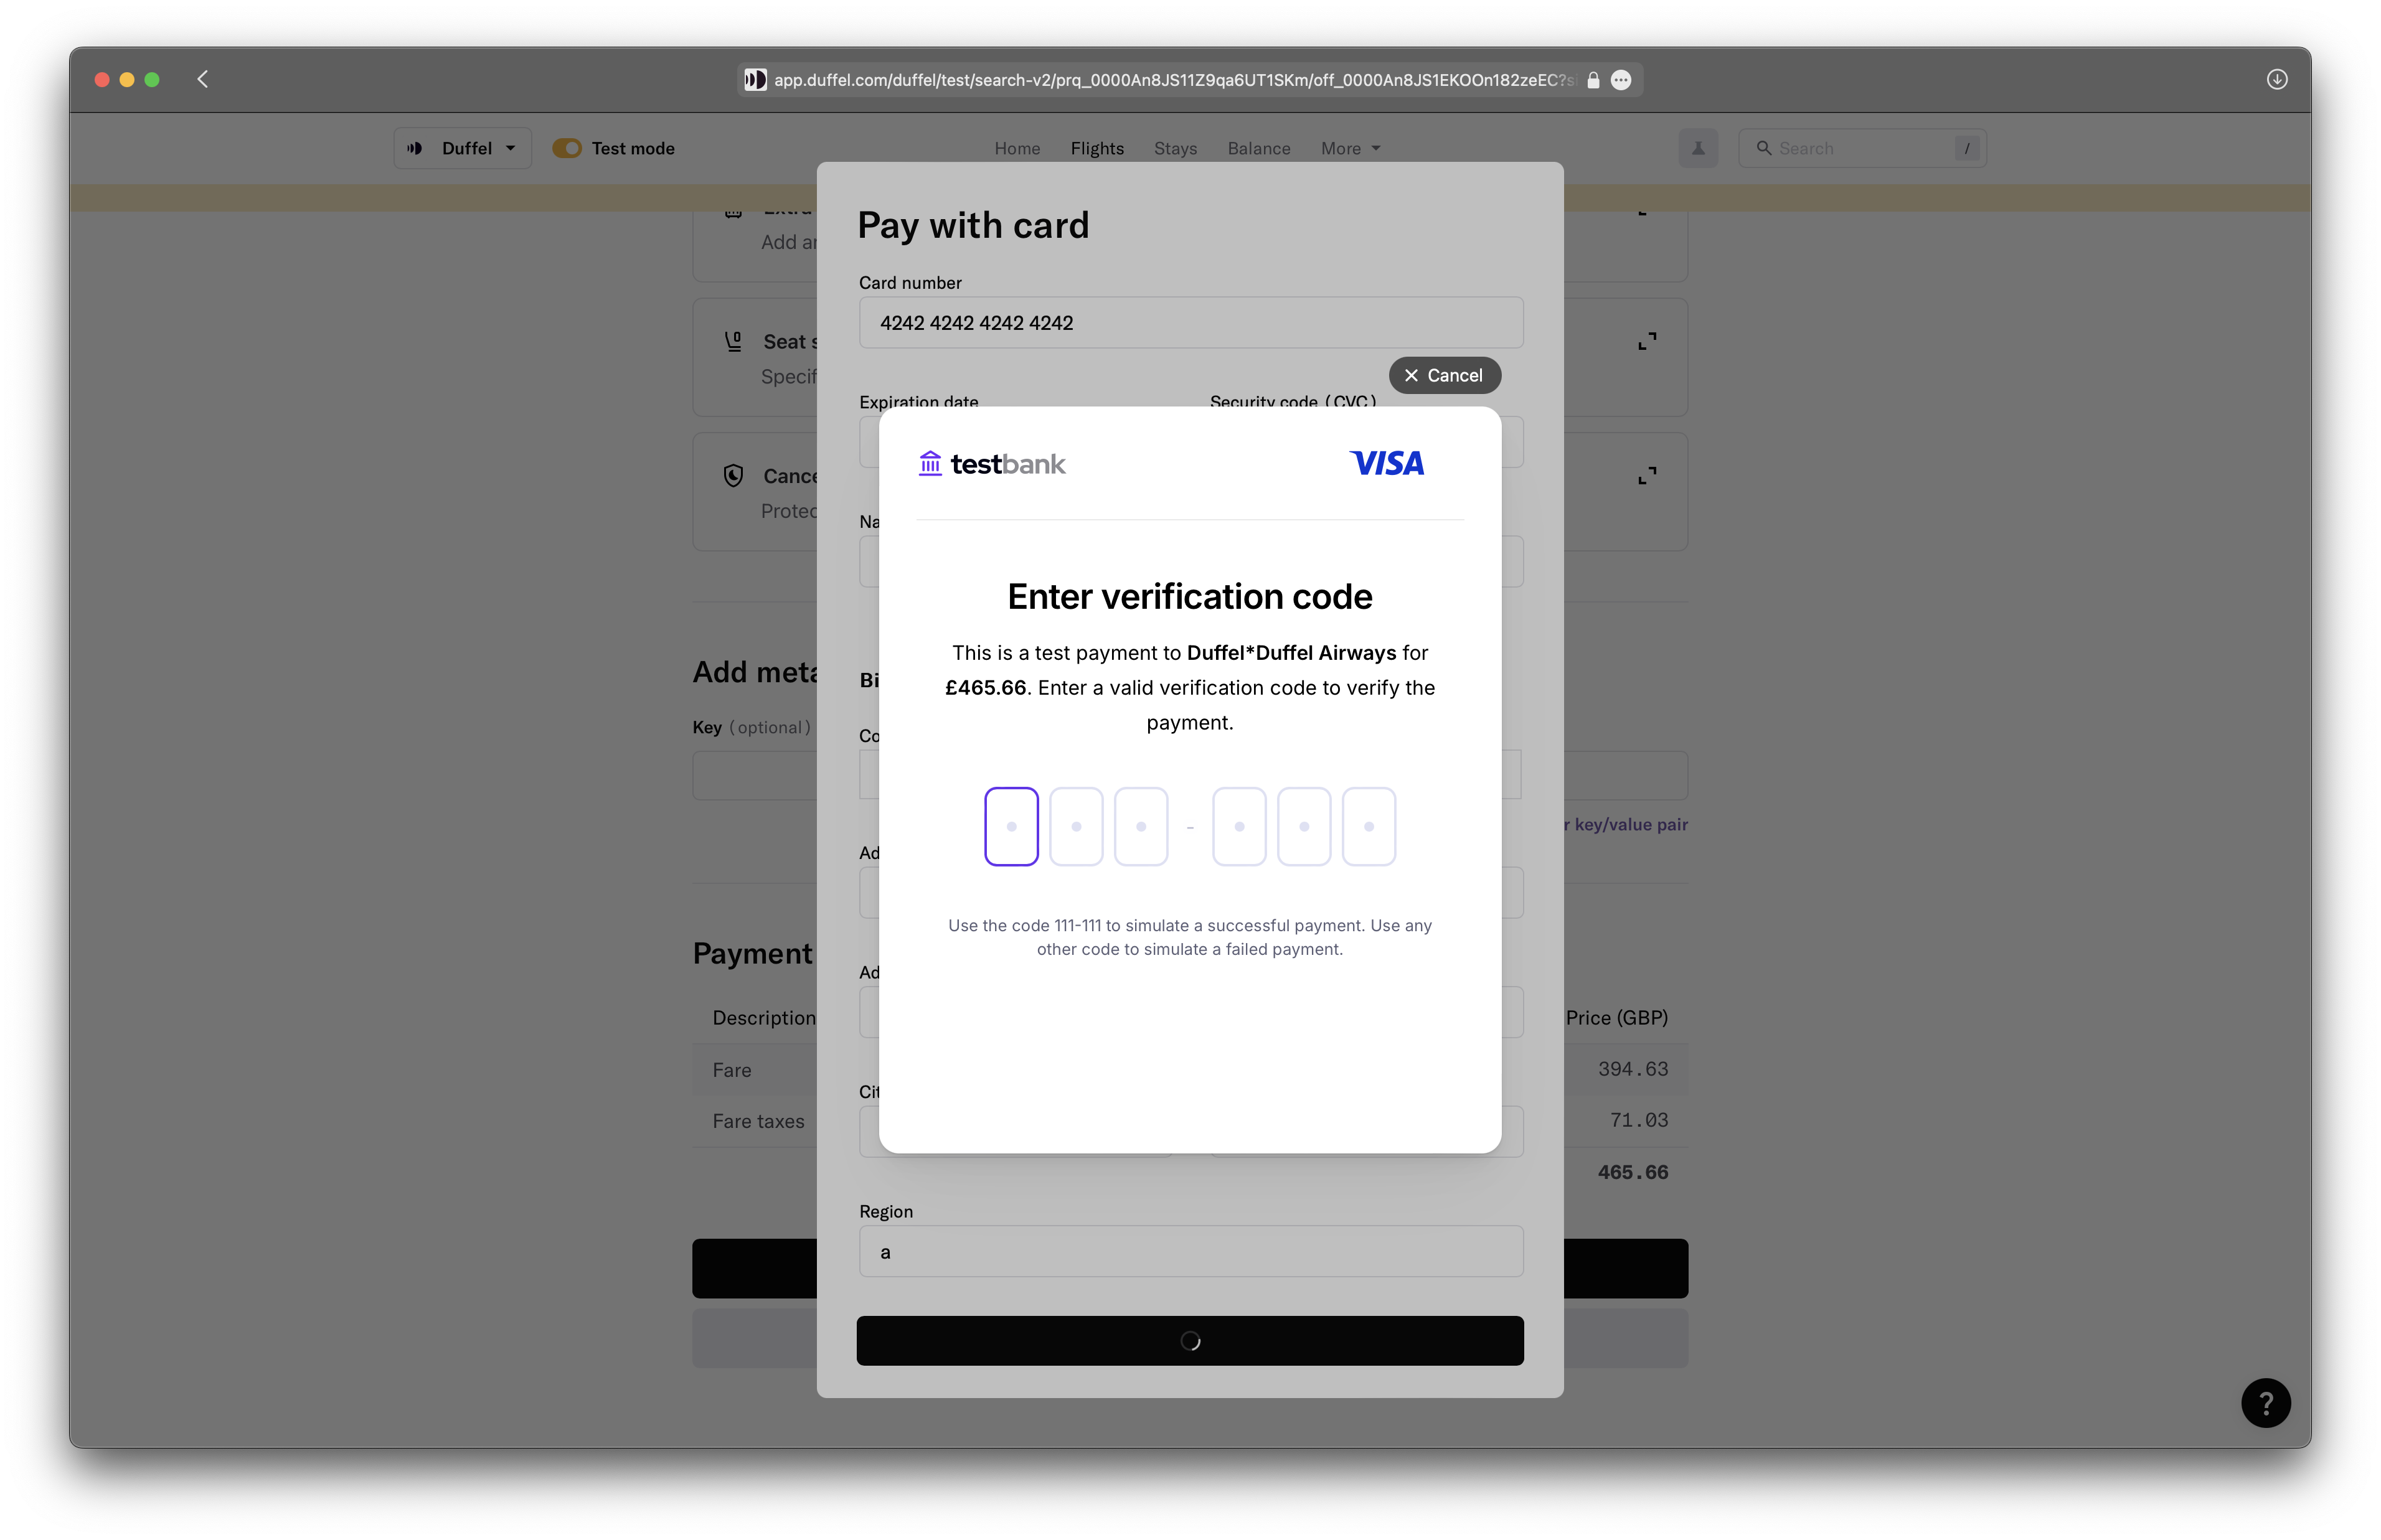
The flow starts by asking the cardholder's issuing bank to authenticate a payment amount to a specific merchant. The issuing bank might require fingerprinting of the cardholder's browser and require a verification challenge during checkout. The issuing bank determines the challenge flow, which usually involves the cardholder confirming the transaction using the method set up with their issuing bank (SMS, banking app, or email).
Example of a 3DSecure challenge
Usage
For 3DS authentication, use the createThreeDSecureSession function provided in @duffel/components. You will need a client key, resource information (i.e. its ID and any associated services), and Card ID created in the previous step.
If a 3DS challenge is required, the function will open a modal for the cardholder to action.
The createThreeDSecureSession functions returns a promise. If the transaction is authenticated successfully, this promise will resolve to a 3DS Session object with the status ready_for_payment. You must pass the ID of the 3DS Session when creating a payment for your resource as three_d_secure_session_id .
Otherwise the promise will reject with an error or a 3DS Session with a different status. Any other status means the session is not ready for payment - either the user failed the challenge, or there was an error during the challenge. The full list of possible statuses can be found in the interface below.
When rejected the challenge should be retried by calling the function again.
In the below example, you can see how to use createThreeDSecureSession to get the three_d_secure_session_id required to create an order.
JavaScript
const offerId ='off_0000AJyeTUCEoY5PhVPN8k_0'
const offerServices =[{id:'ase_00009UhD4ongolulWAAA1A',quantity:1}]// This can be bags or seats when booking flights
const clientKey ='eyJhbGciOiJIUzI1NiIsInR5cCI6IkpXVCJ9.eyJ1c2VyX2lkIjoiaWN1XzAwMDBBZ1ppdHBPblF0ZDNOUXhqd08iLCJvcmRlcl9pZCI6Im9yZF8wMDAwQUJkWm5nZ1NjdDdCb3JhVTFvIiwiaWF0IjoxNTE2MjM5MDIyfQ.GtJDKrfum7aLlNaXmUj-RtQIbx0-Opwjdid0fiJk6DE'// See the Client Key section above in the document
const cardId ='tcd_00009hthhsUZ8W4LxQgkjb'// You can use the Duffel card component or API to get the card ID.
In test mode the following card details can be used to trigger different outcomes on the card acceptance of the 3DS flow.
Follow the below instructions to simulate the different 3DS authentication scenarios in test mode:
Card number:
Test scenario
Visa
Mastercard
American Express
3DS Challenge Required
4242424242424242
5555555555554444
378282246310005
No 3DS Challenge Required
4111110116638870
5555550130659057
378282246310005
Expiry date: Use any future date for expiry_month and expiry_year
Card Verification Code (CVC): Use any valid value for cvc. 3 digits for Visa and Mastercard, 4 digits for American Express.
Address details: Use any valid address.
3DS Challenge Verification code: When completing a 3DS challenge, entering 111-111 will result in a successful challenge. Any other value will result in a failure.
Learn more
Test Scenarios - Card Payment Declined
Suppliers can decline card payments for multiple reasons (perceived risk, insufficient funds, etc.).
Follow the below instructions to simulate payment declined scenarios in test mode:
To simulate a payment declined in Flights, use Declined as name when creating the card record.
To simulate a payment declined in Stays, select the Payment declined when Booking room on the Duffel Test Hotel.