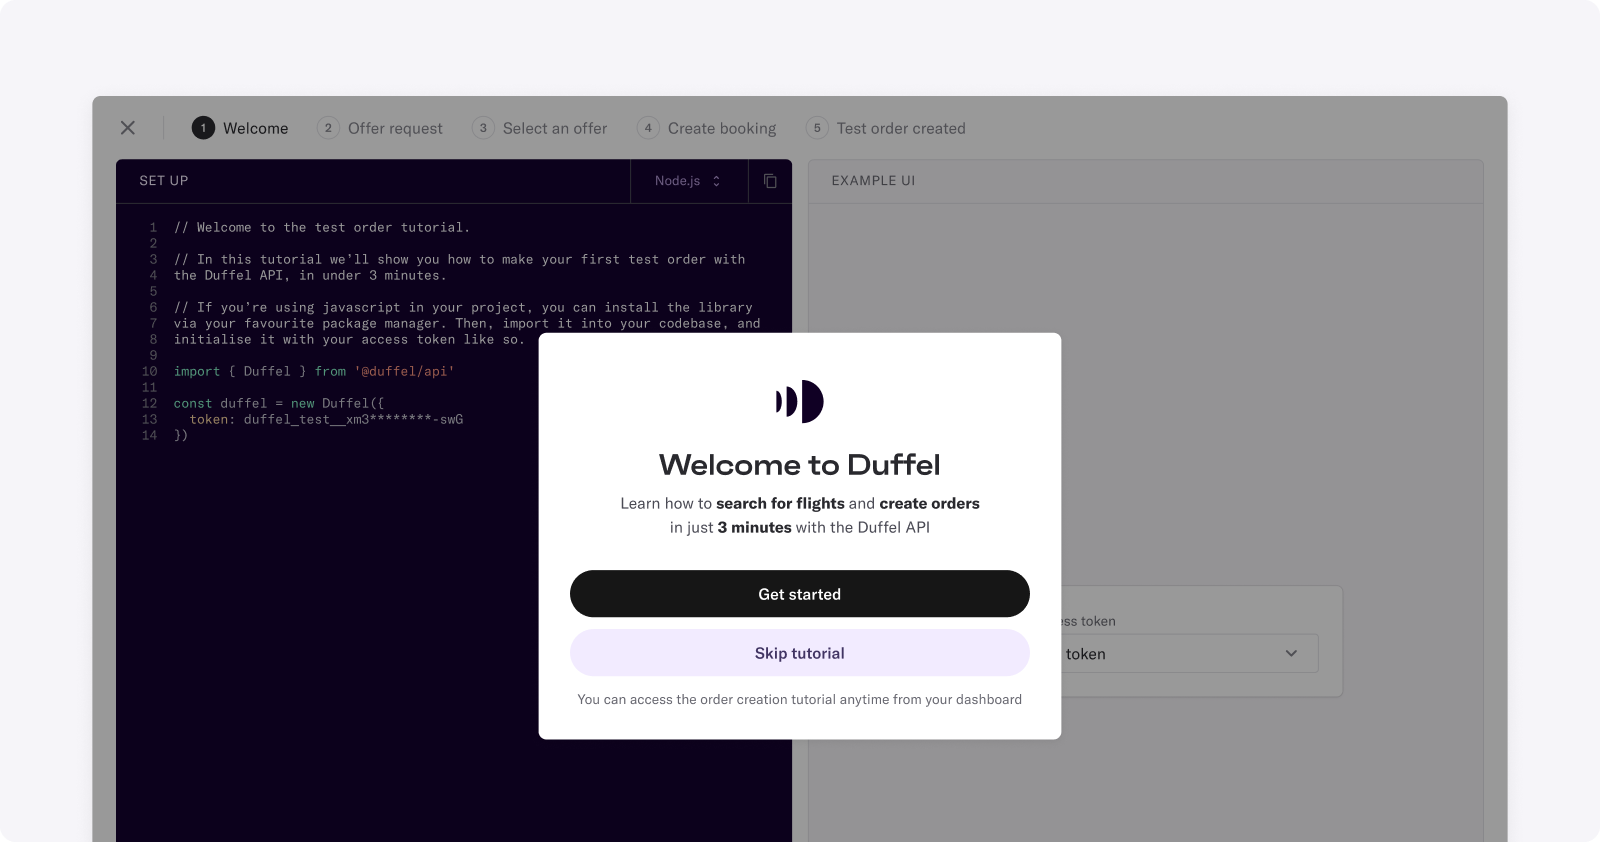
Partial screenshot of onboarding onto the Duffel dashboard
See how you can make offer requests, select an offer, collect payments (in countries that support Duffel Payments), and create the order.
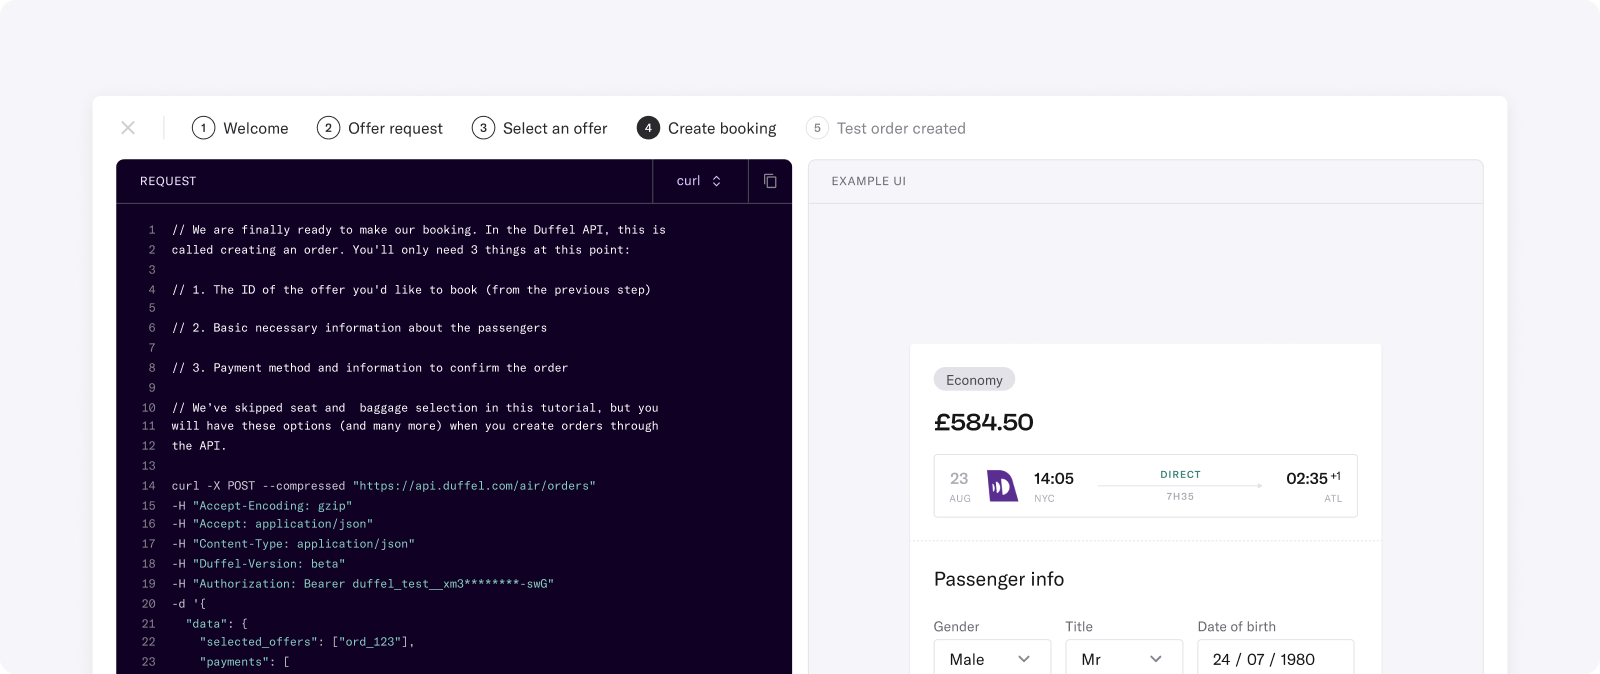
Partial screenshot of the order creation tutorial on the Duffel dashboard
Step 2
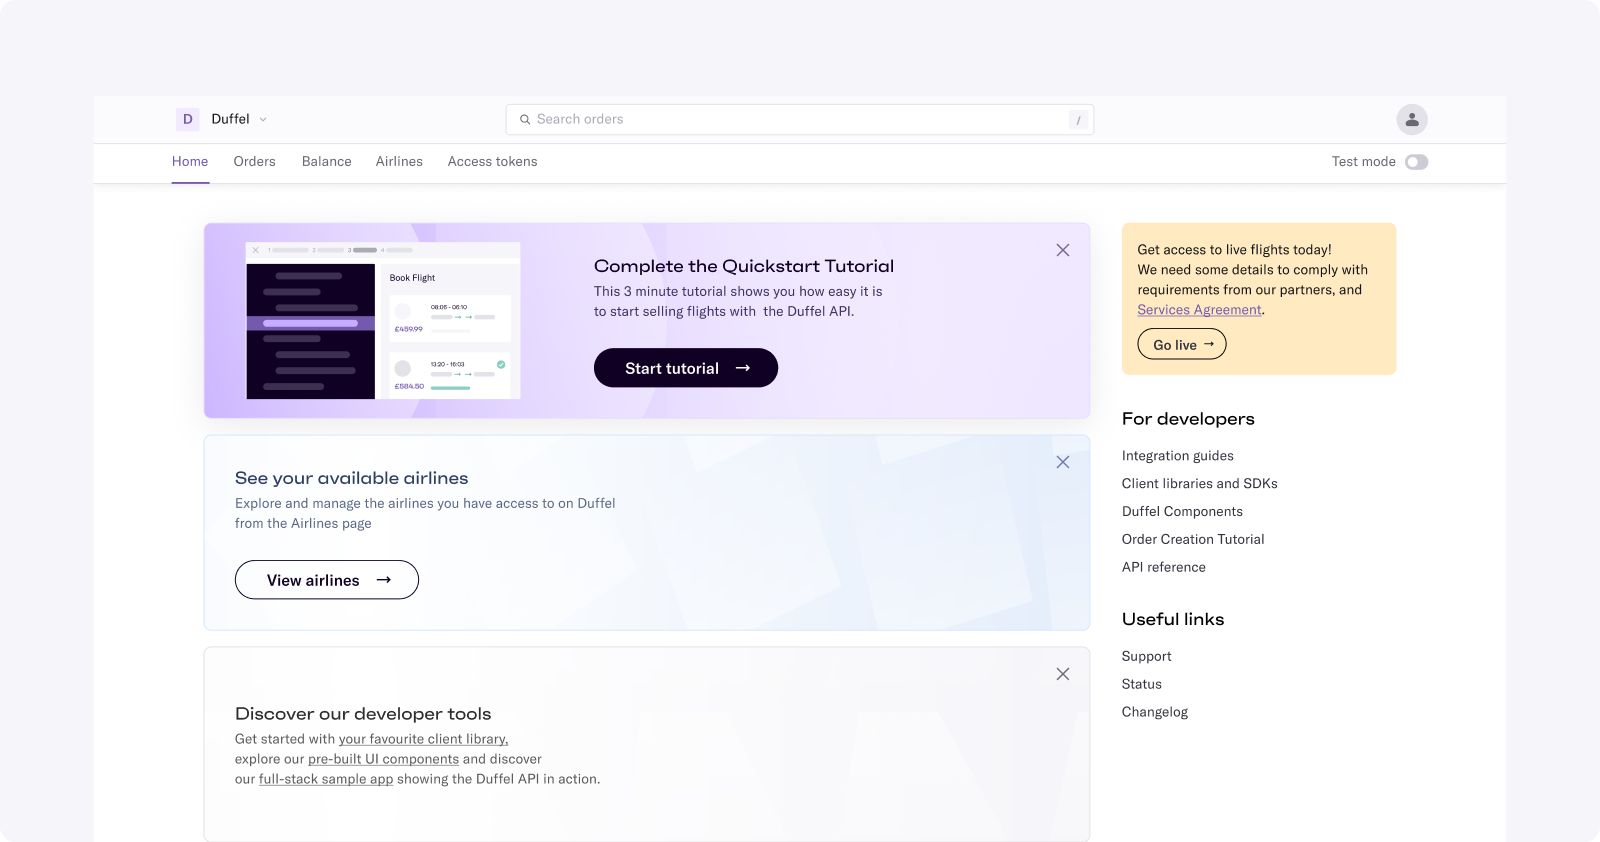
Explore the Home screen.
From here, you have a variety of activities and tabs you can explore to get your travel business up and running.
Partial screenshot of the Duffel dashboard home screen
Orders
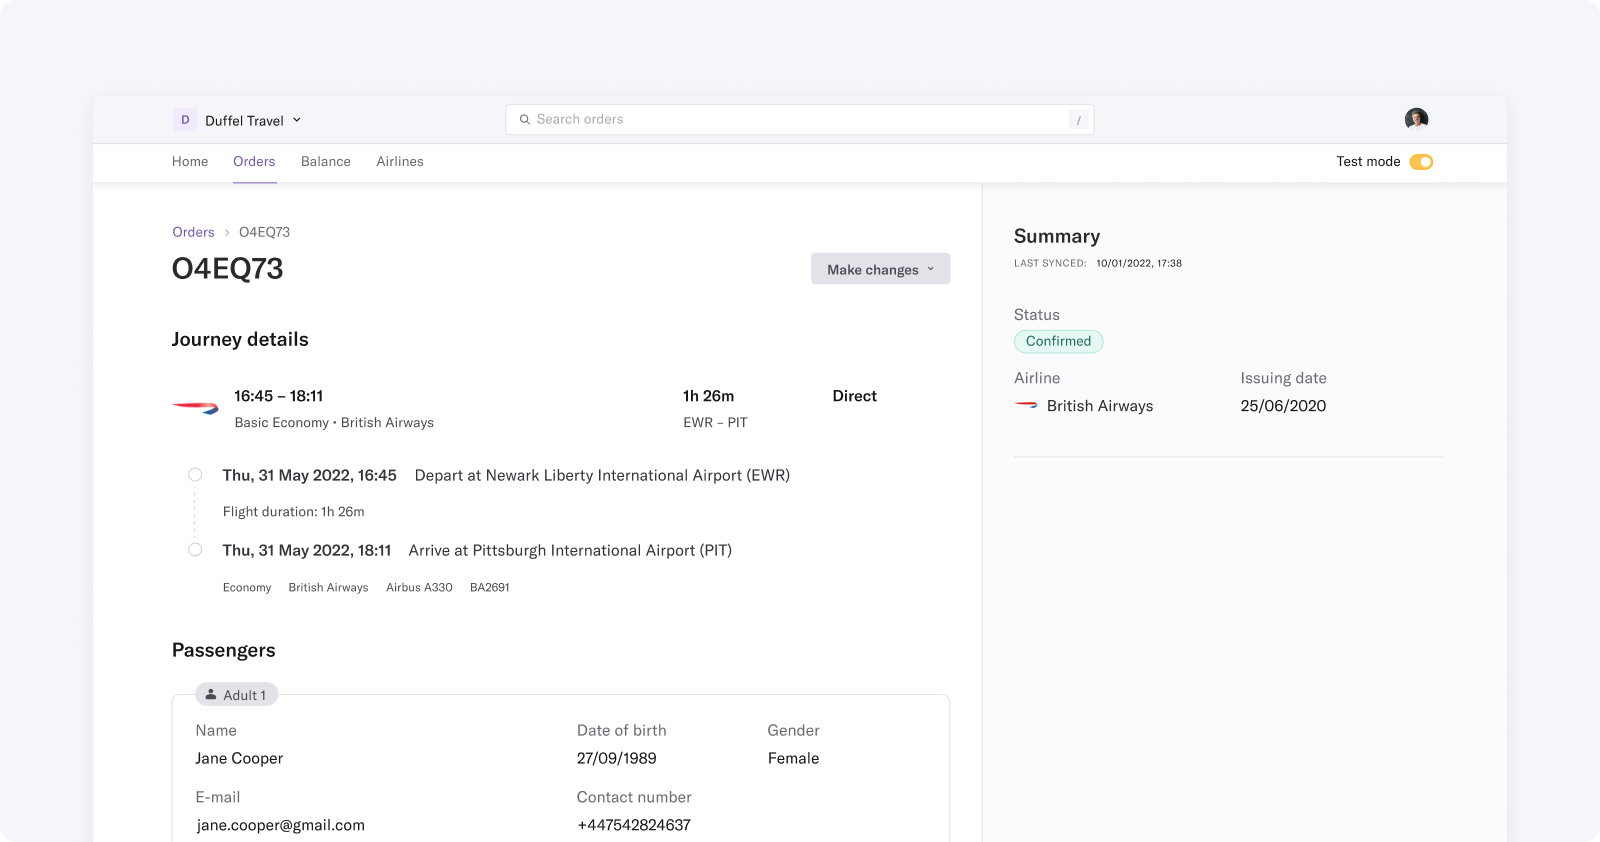
Orders is where you can access a history of all your bookings — confirmed, cancelled, changed, or pending.
When you select an order, you can view the booking reference number, journey information passenger details, and billing summary. This is also where you can make changes, cancel an order, and, if the airline has changed that order, view those changes and either change, accept, or cancel the new itinerary.
Partial screenshot of the Duffel dashboard orders page
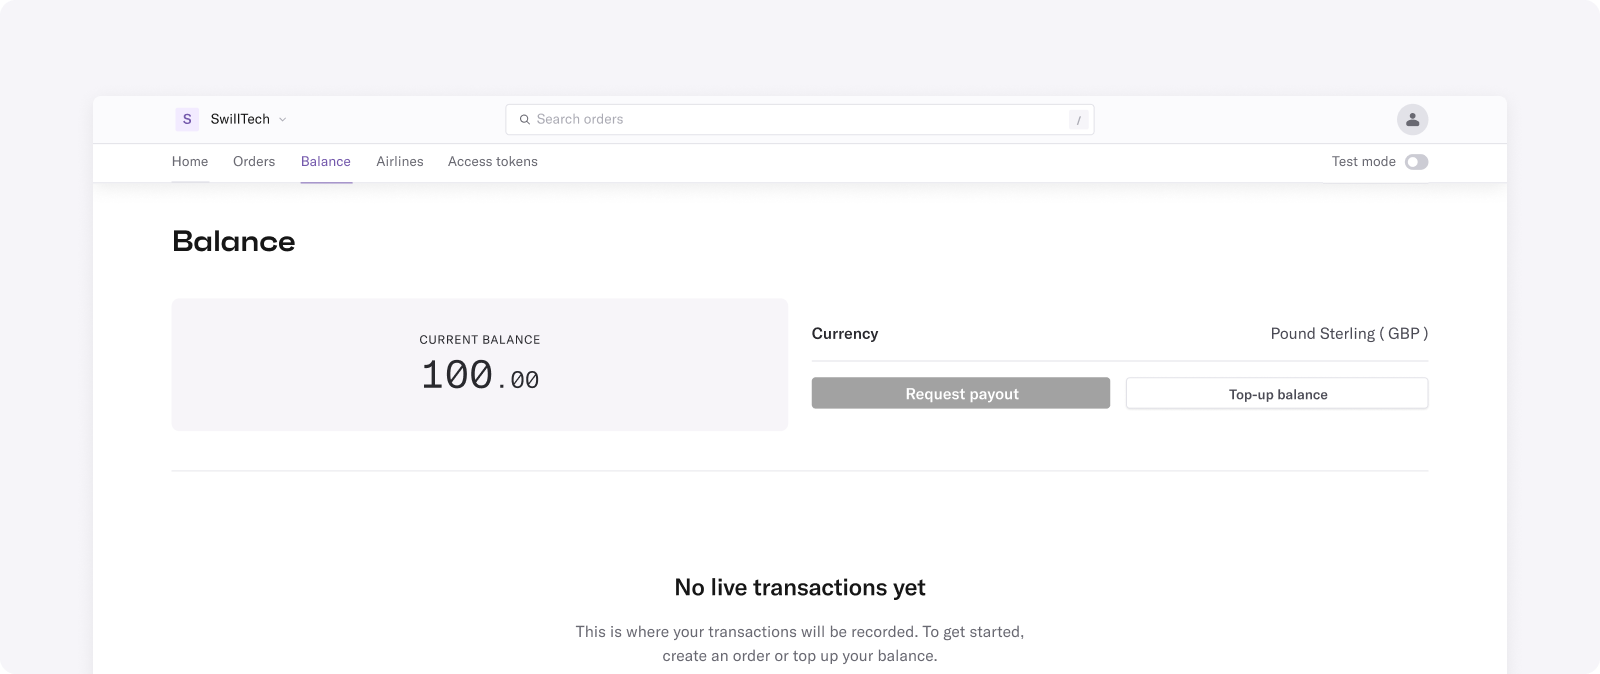
Balance
Balance displays the current amount of available funds you can use to make orders.
You can also complete a balance top-up, request a payout, or view a list of transactions by date range.
Partial screenshot of the Duffel dashboard balance page
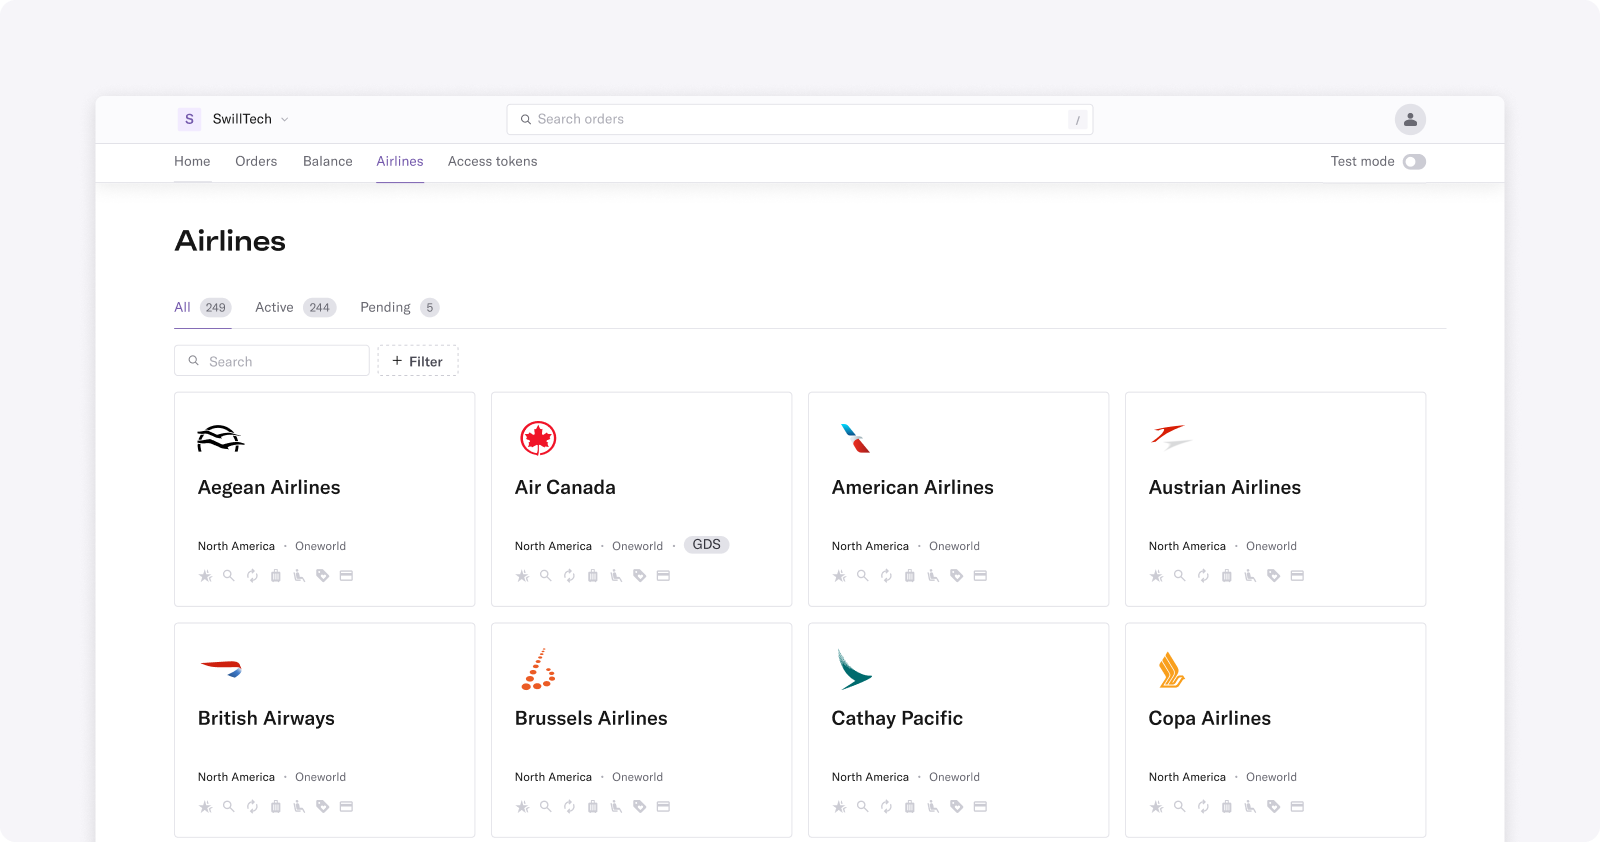
Airlines
Airlines includes the complete list of airlines live with Duffel and highlights the ancillaries and type of content available.
You can also choose to filter based on region, alliance, or features like adding additional bags when booking.
Partial screenshot of the Duffel dashboard airlines page
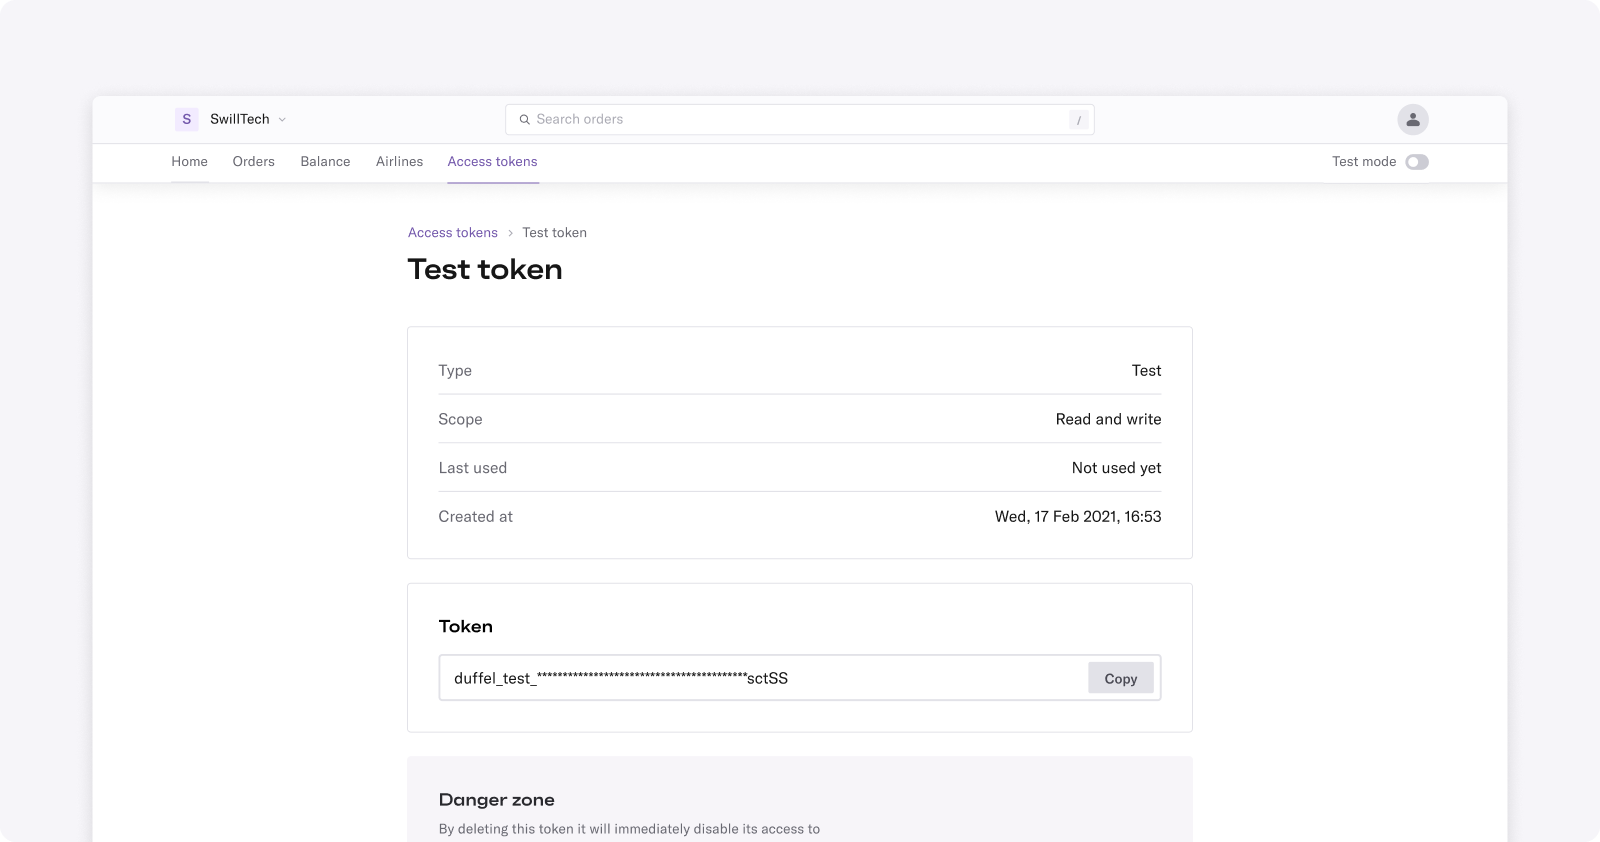
Access tokens
Here you can receive access tokens for test mode and live mode.
In the Dashboard, make sure that you're in ’test mode’ and create a token. Test tokens are easy to recognise: they start with duffel_test_.
With a testing access token, you'll only be able to access resources created in test mode.
Partial screenshot of the Duffel dashboard token page
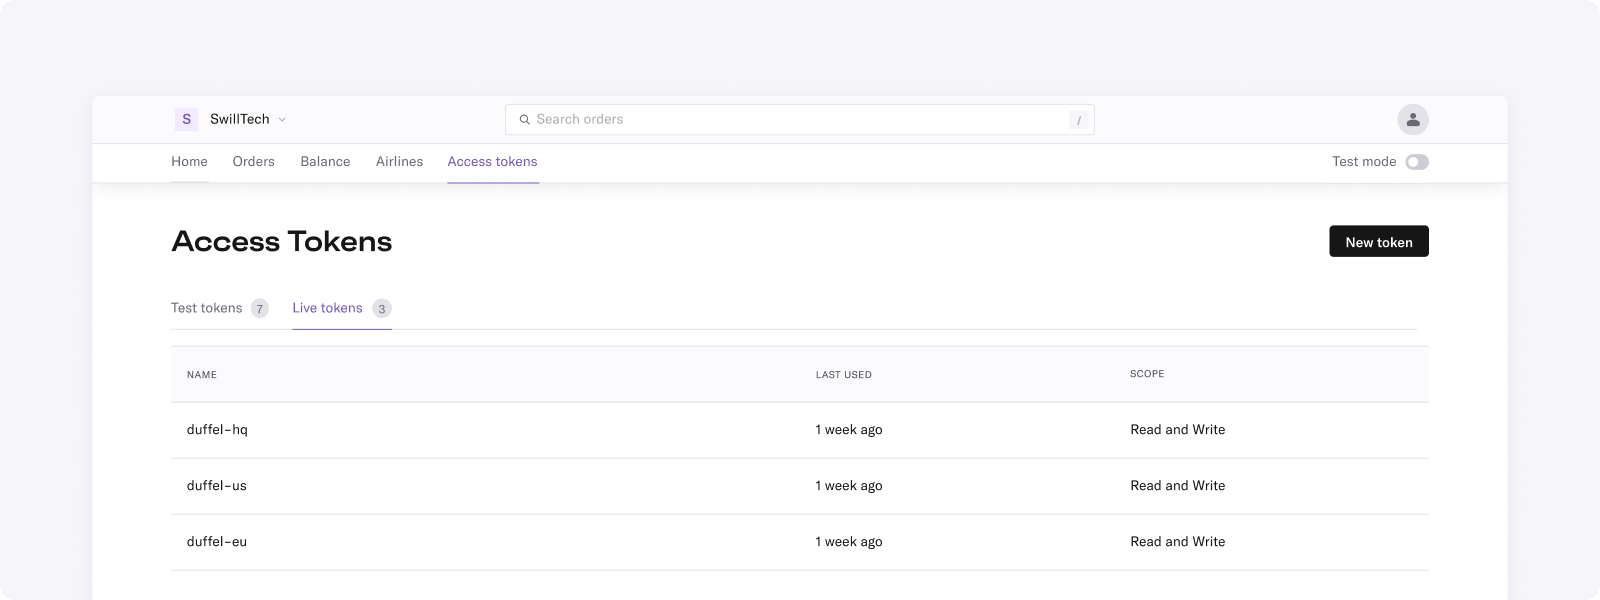
Live token
Once you’ve activated your account (see Step 5), live tokens will be enabled. You'll need to create a live access token to use live mode. With a live access token, you'll only be able to access resources created in live mode.
You also need a live access token to include in every request you make to the API. When you create an access token, you'll be able to choose whether to give it read-only or read-write access. Learn more in our docs on making requests.
Partial screenshot of the Duffel dashboard tokens list page
Step 3
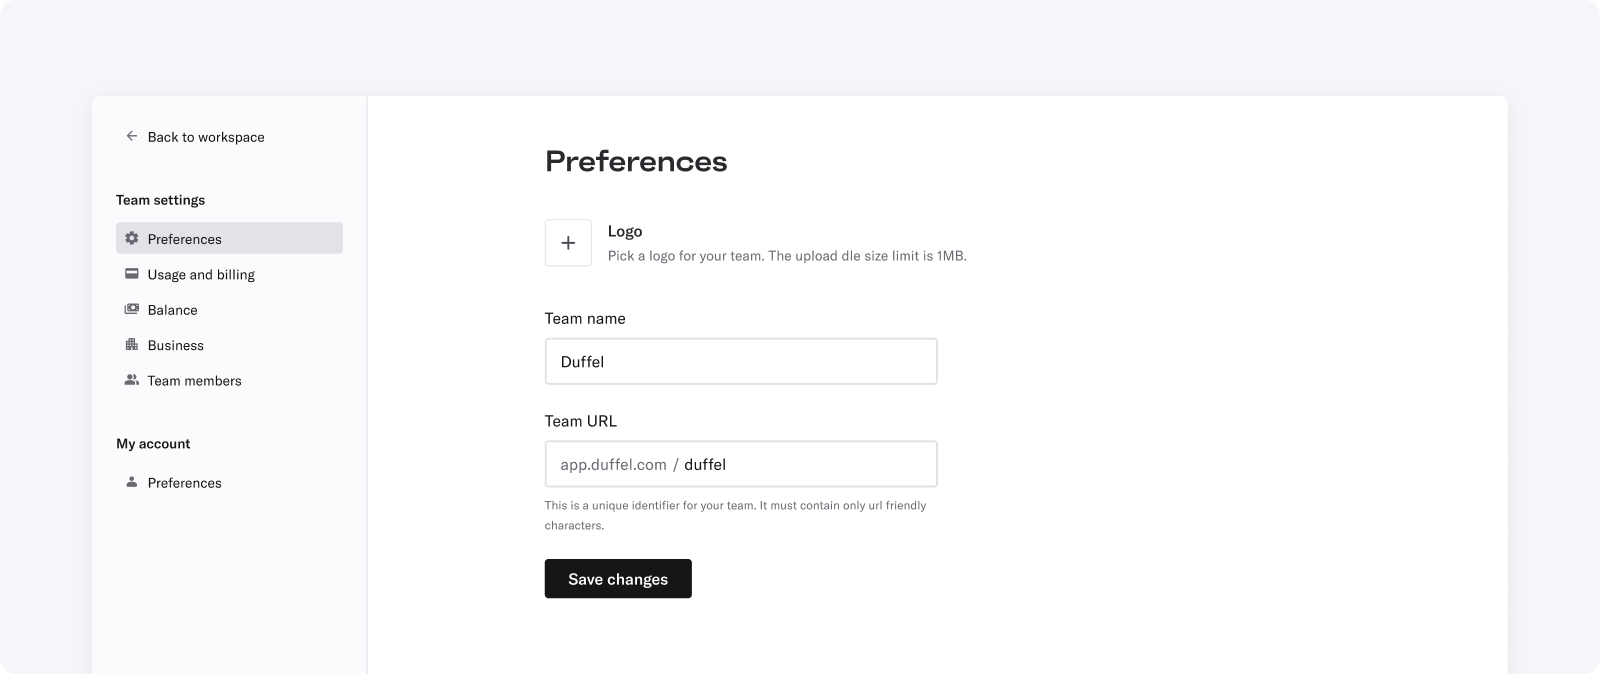
Customise your account.
Start by adding your team name. You can change any time in Team settings → Preferences.
Partial screenshot of the Duffel dashboard organisation preferences
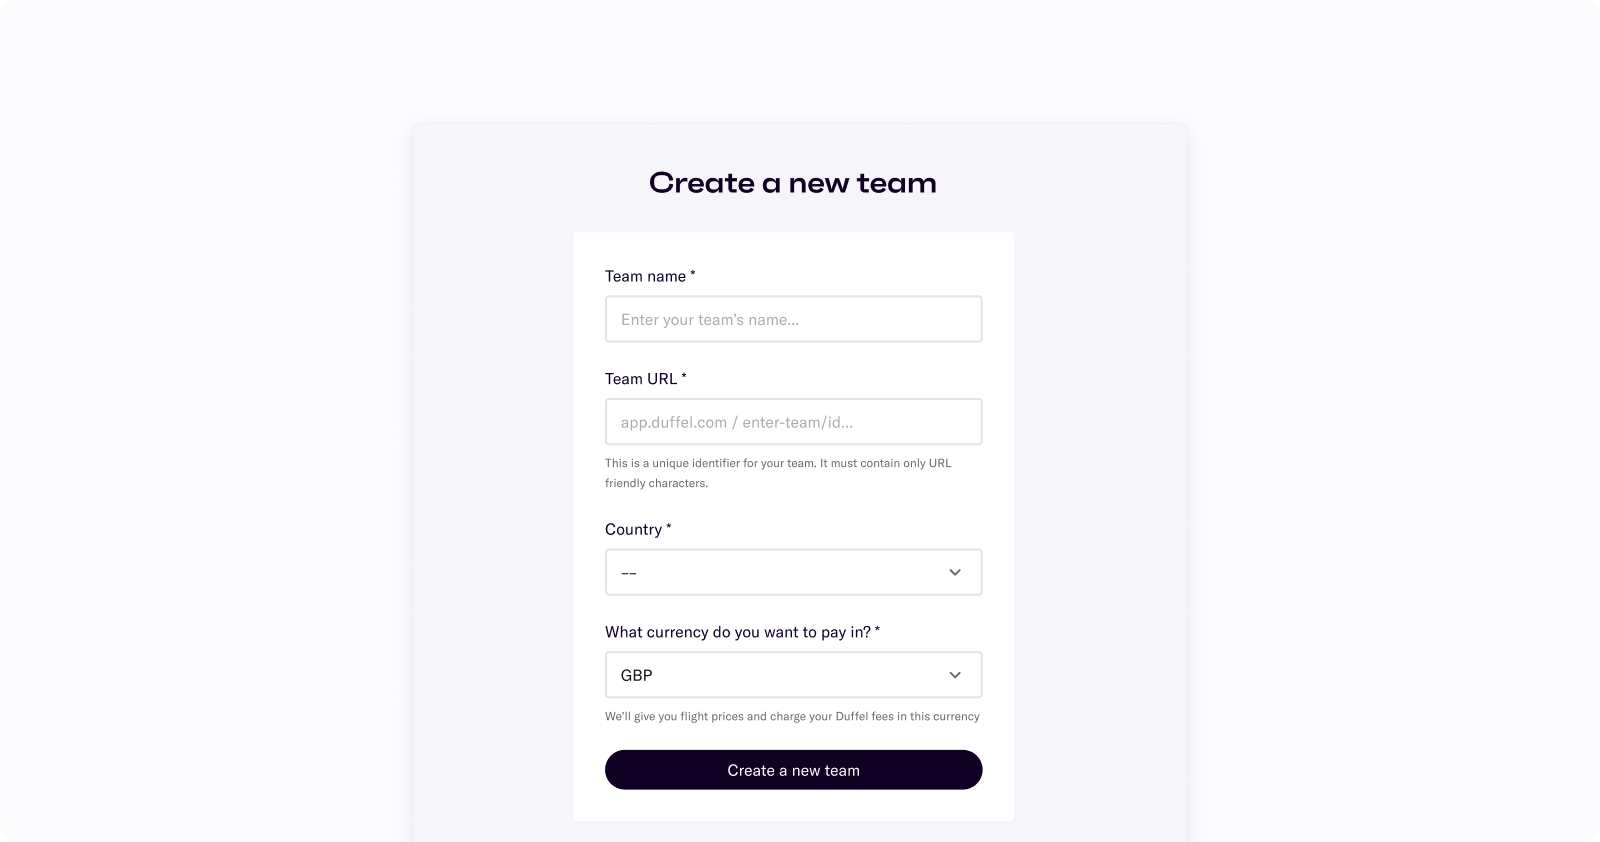
You can also create separate teams if you have different geographies, currencies, or business types.
Partial screenshot of the Duffel dashboard create new team page
Step 4
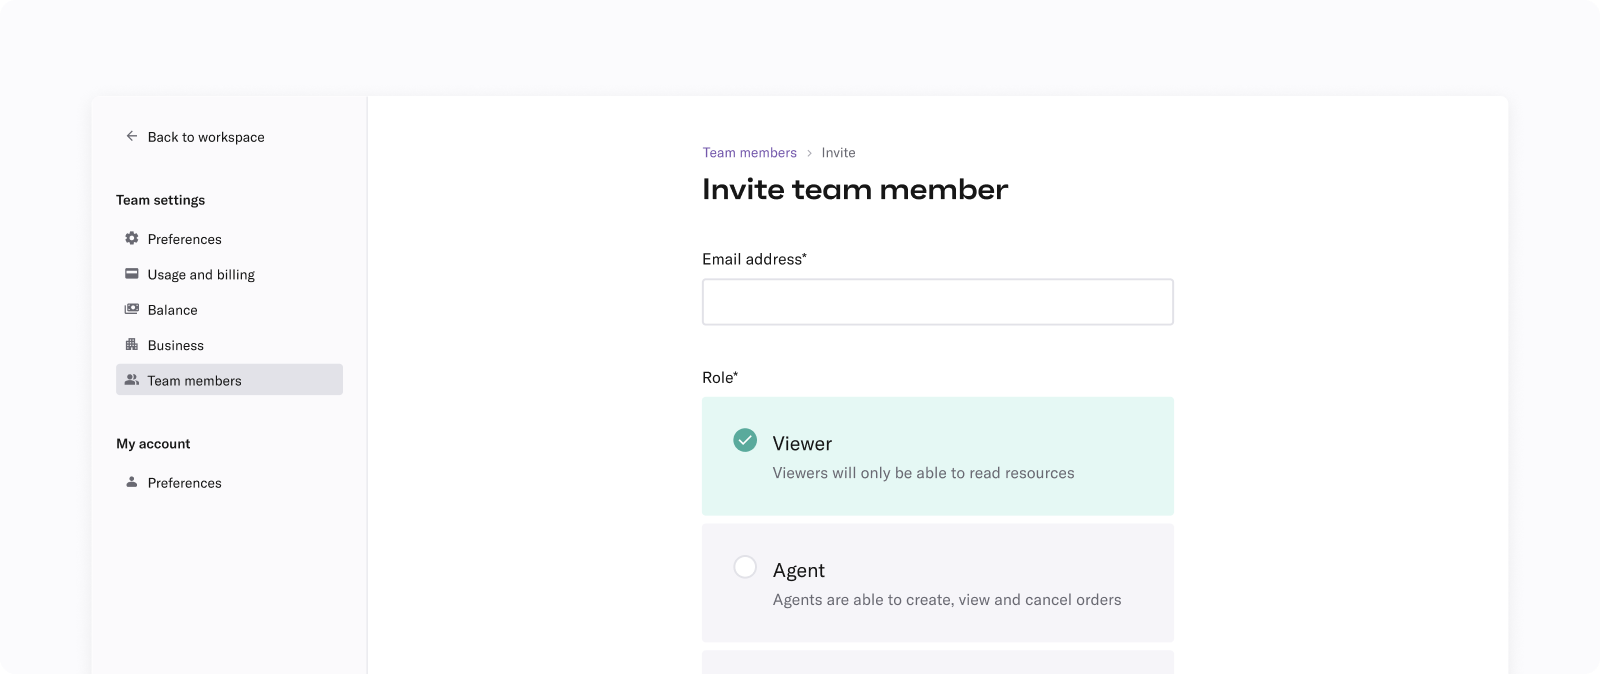
Invite teammates to your account.
You can select their team role to apply different settings. Go to Team settings → Team members to add teammates. They will get an email invite to confirm sign up.
Partial screenshot of the Duffel dashboard invite team member page
Step 5
Activate your account.
Complete these two steps in order to get access to Live Mode.
You can choose to save and finish some details later if needed.
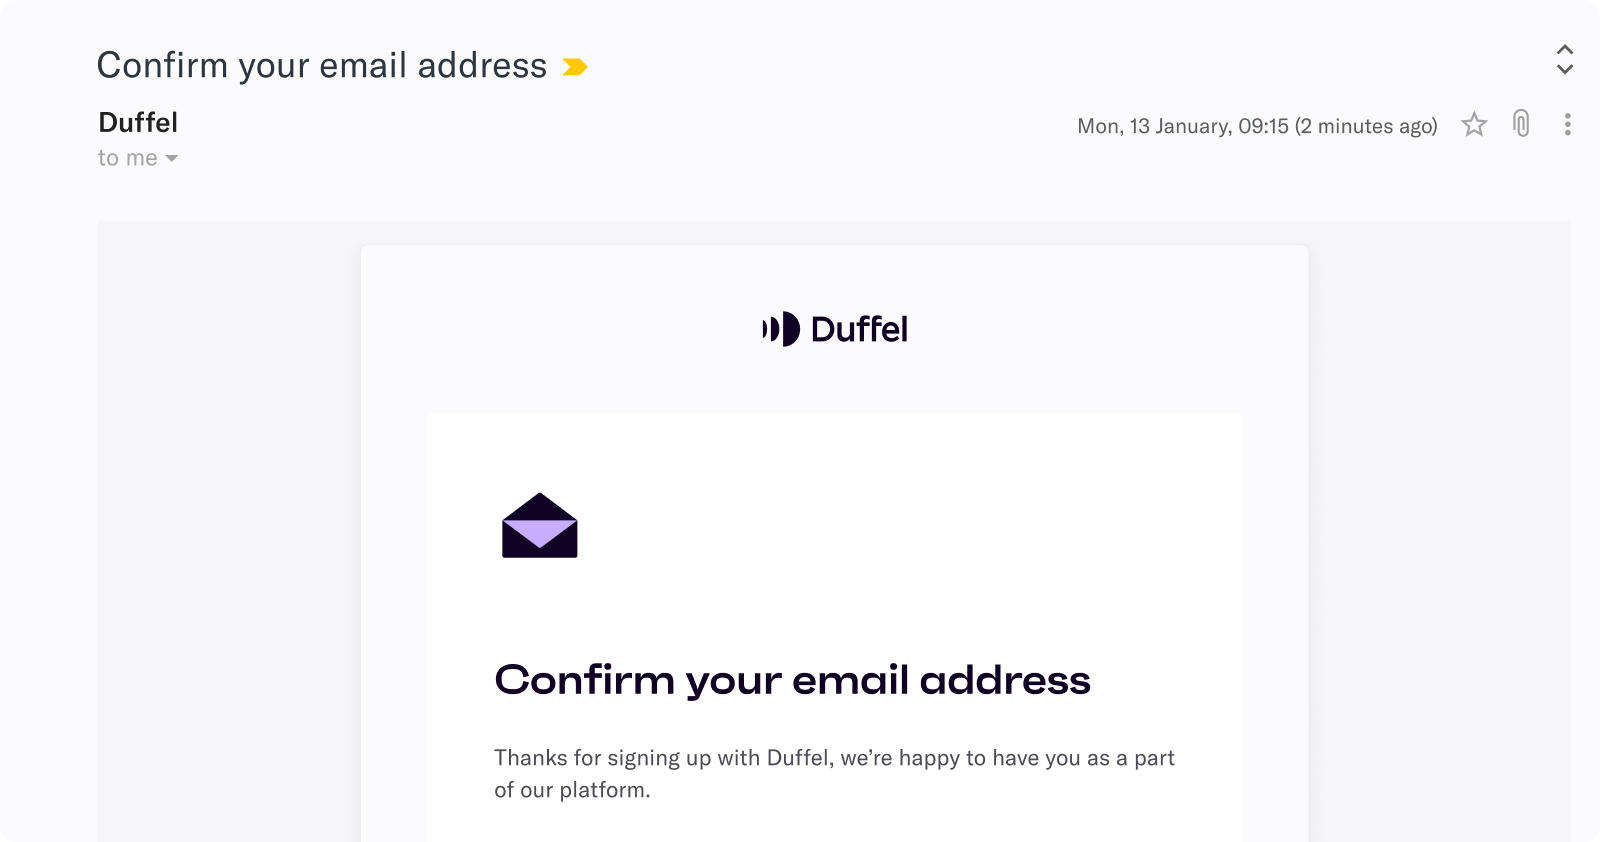
Email
First, verify your email address.
Partial screenshot of receiving a confirmation email from Duffel
Verification
Second, complete the verification process.
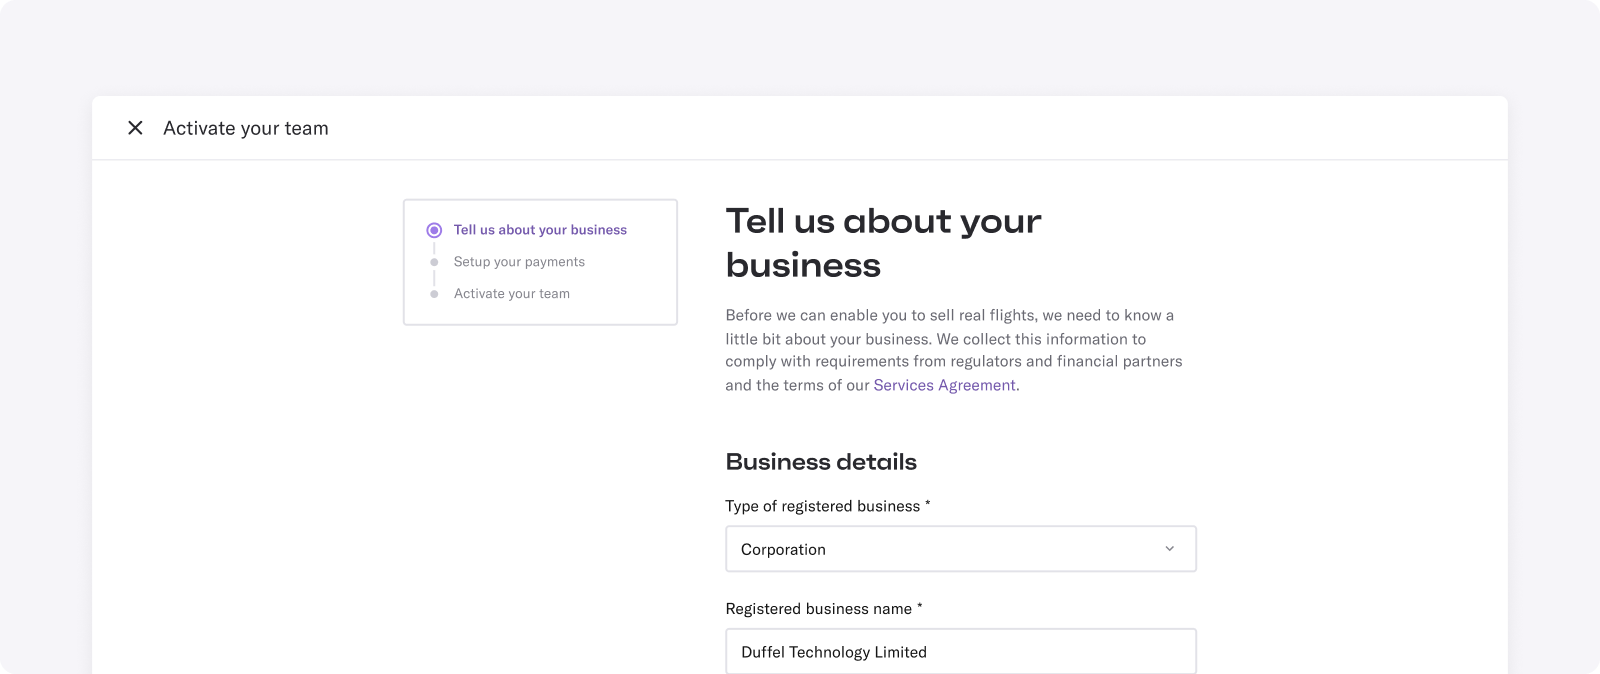
Tell us your type of business
Verify your personal details
Share information about the business
Verify information for Know Your Customer (KYC) purposes
Duffel dashboard activation page for organisation in countries where Duffel Payments is not supported
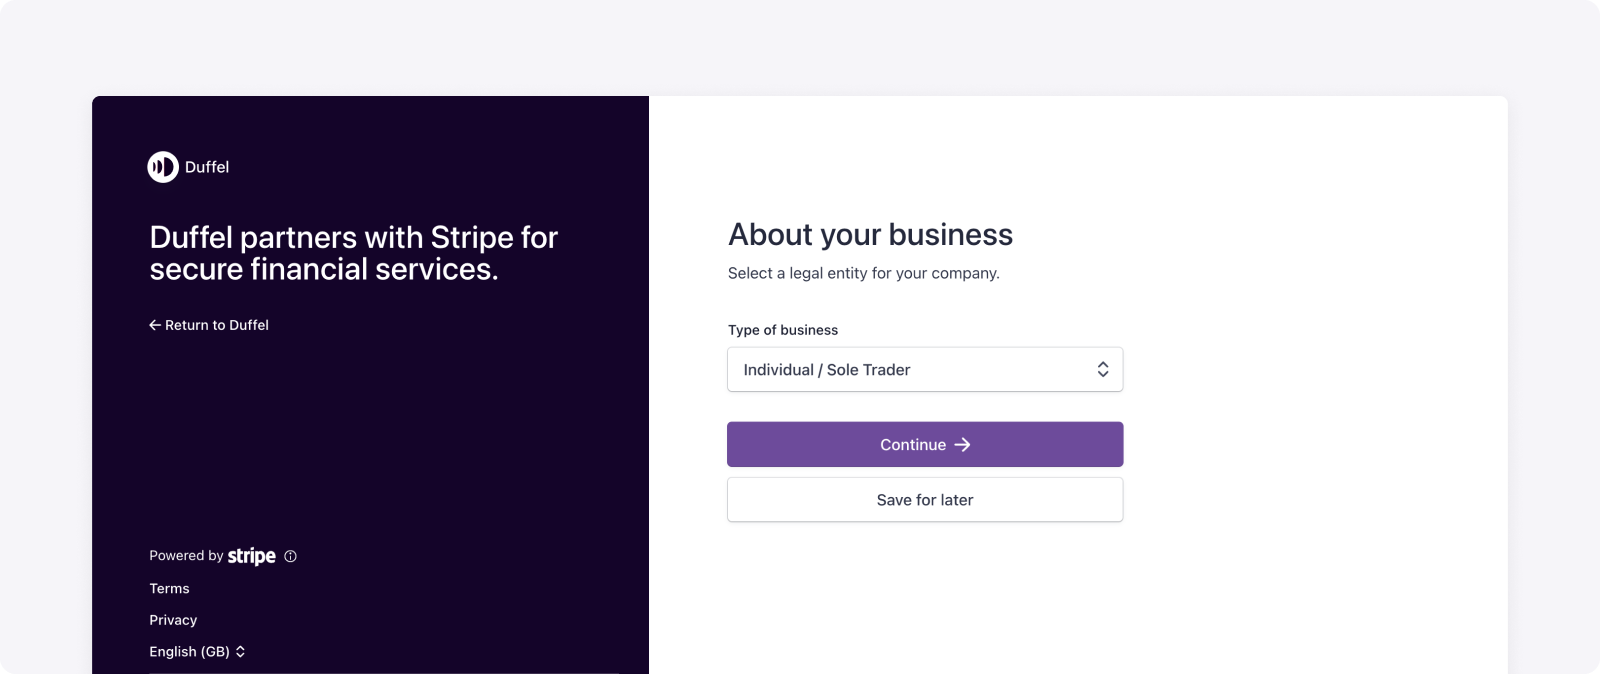
Duffel KYC step with Stripe for organisations in countries where Duffel Payments is supported
Why do I have to give this information?
This information relates to industry regulations called ‘Know Your Customer’ (KYC).
KYC obligations are set by regulators to prevent abuse of the financial system. They ensure businesses that accept and pay out funds collect and maintain information on all their users. Every country has its own requirements that users must meet.
Typically these requirements revolve around:
Collecting information about the individual and business
Verifying information to establish that we know who our customers are
Step 6
Choose how to collect payments and go live with your integration.
You’ve now unlocked Live Mode. If Duffel Payments is your preferred method for charging your customers, you can start integrating and accepting payments directly. Check out our Paying with customer cards guide to get set up in a matter of minutes.
Partial screenshot of the Duffel dashboard activation page
If you choose not to integrate with our Payments API, you can top up the Balance and just utilise the Flights API.
At this point, you’ve now completed your Flights API integration and Payments API integration. This means you are ready to make your first real request to airlines - you just need to create and use a live token.
Step 7
Explore the other tabs in Settings.
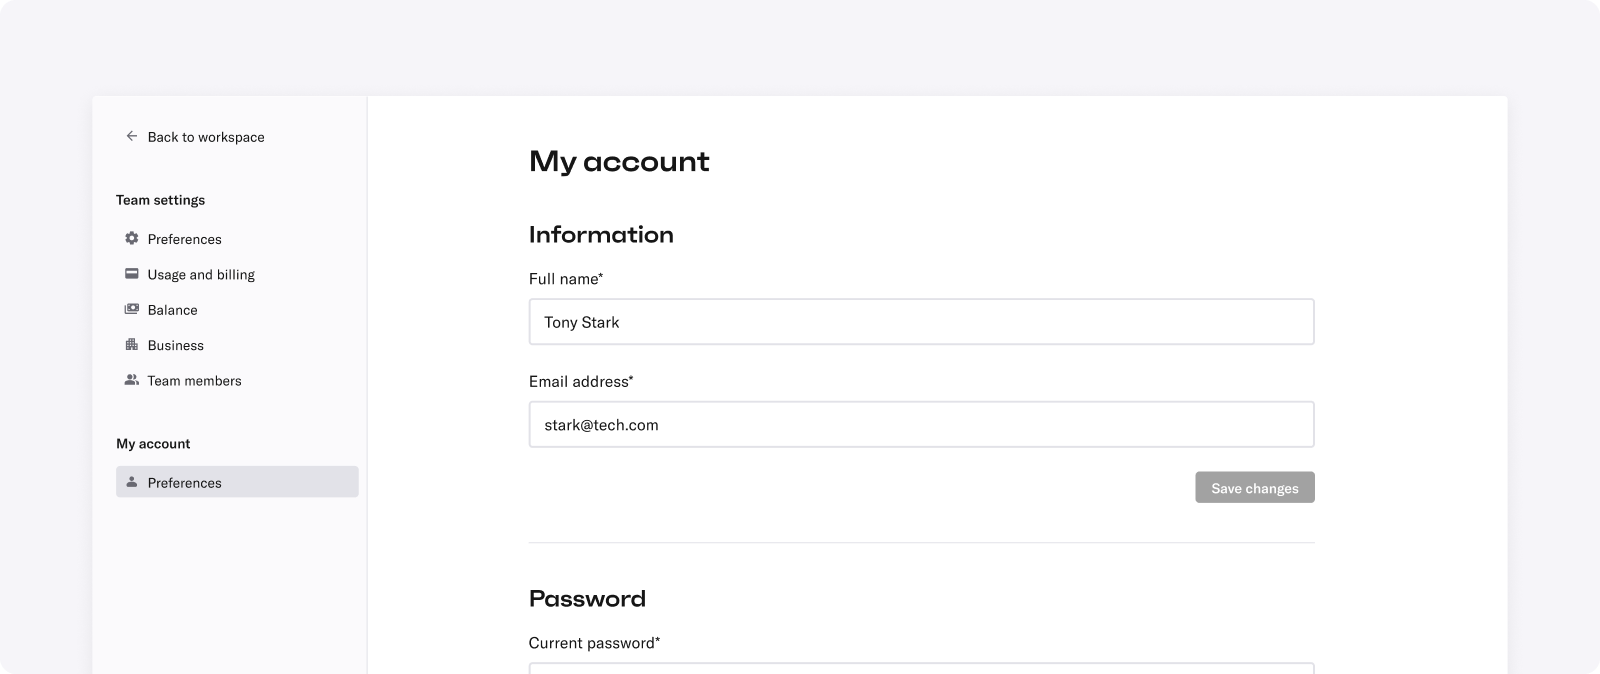
My Account Preferences
Here you can change your name or email and can update your password.
Partial screenshot of the Duffel dashboard settings page
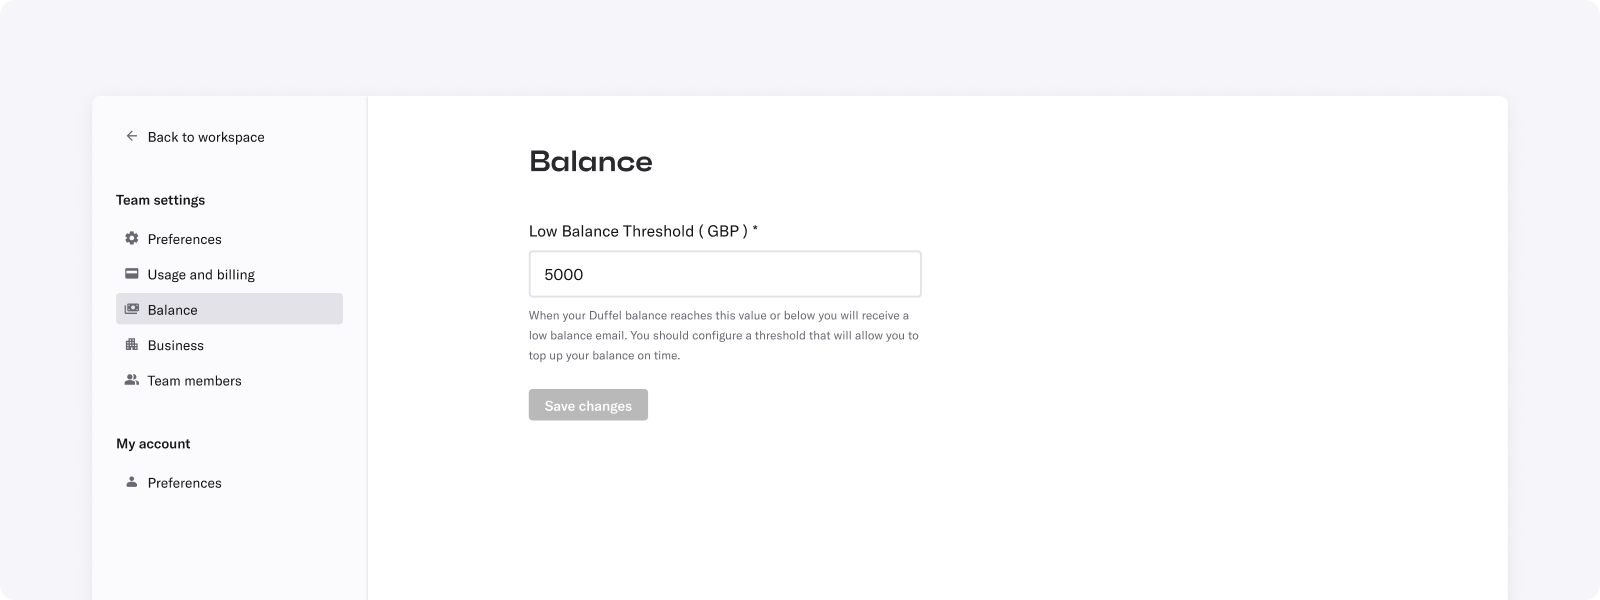
Balance
Determine a low balance threshold to receive notifications so you top up your balance on time to continue to make orders with your account.
You may want to start with a low amount at first and can come back to this section once you're making live orders to better determine which amount works for your business.
Partial screenshot of the Duffel dashboard settings balance page
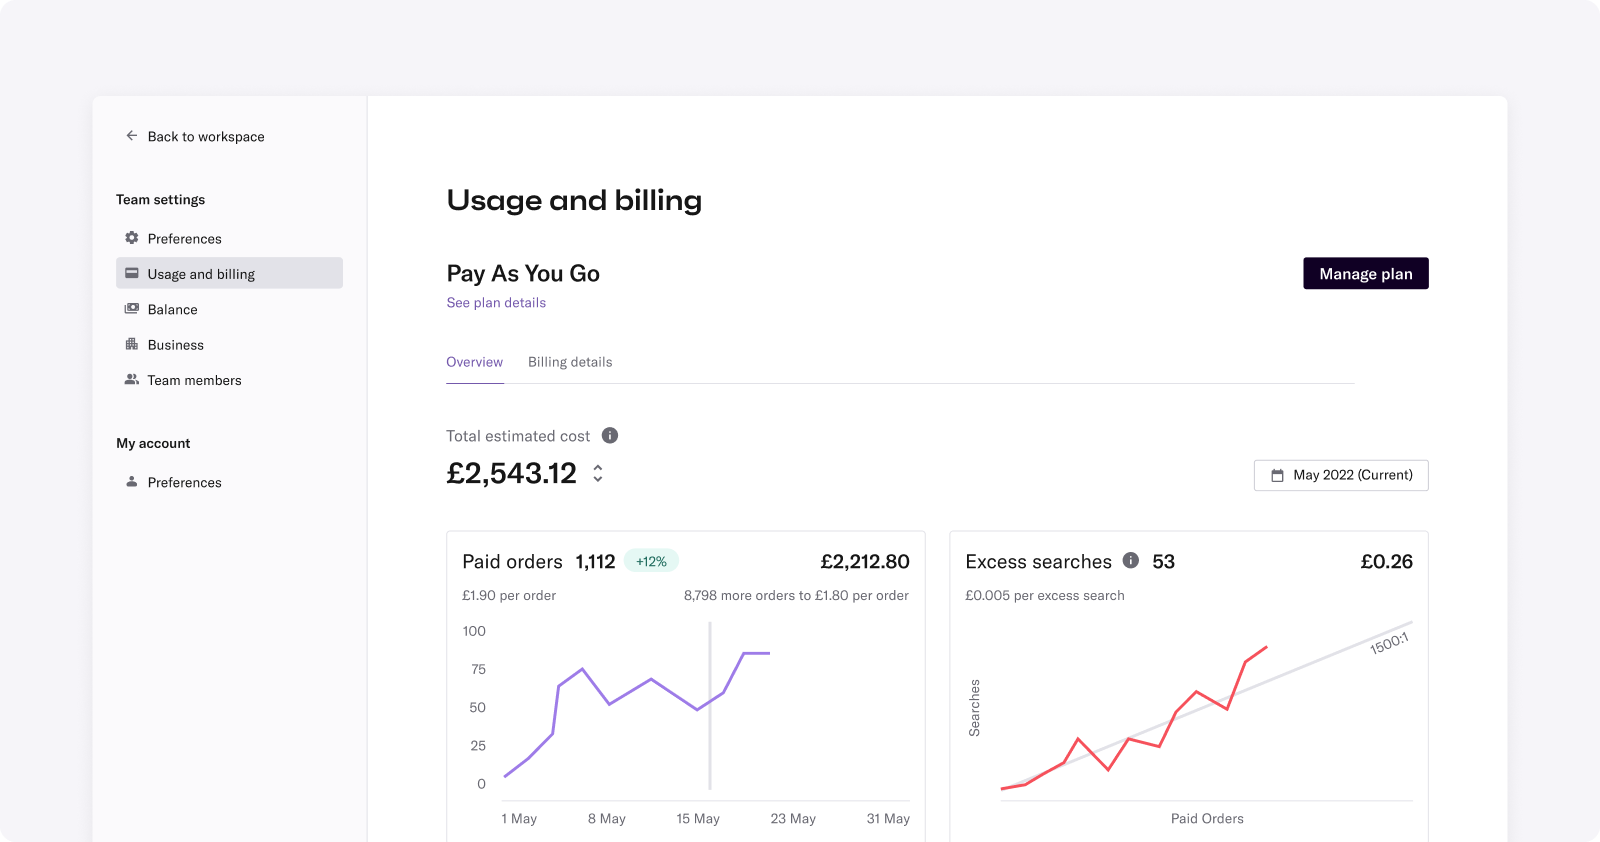
Billing
In Billing, you can see the plan you are on and set up automatic credit card payments to pay your monthly invoice.
Partial screenshot of the Duffel dashboard billing page
Step 8
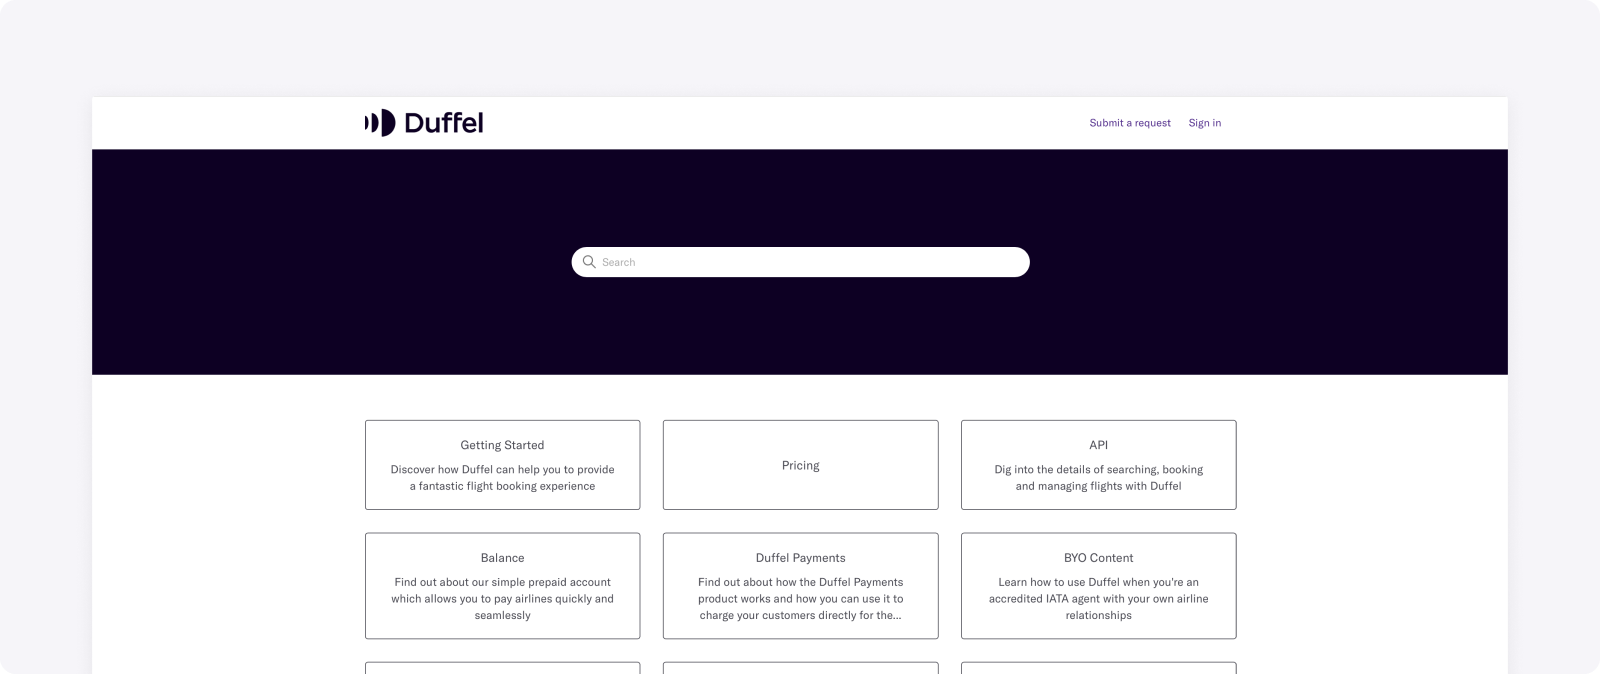
Know where to find help.
For help with common questions around pricing, APIs, your Duffel Balance, Duffel Payments and more, search our Help Centre.
Partial screenshot of the Duffel help centre
For help with all your post-ticket servicing needs, we have a dedicated Travel Ops team available for support. They can assist with managing your bookings or issuing refunds for changes you need to make on behalf of your customers. You can reach support via email [email protected].